Setting Up Your Custom Bot
This guide will walk you through setting up your own custom bot. This feature is available to users who have achieved Tier 3+ access, either by redeeming it or by winning it in our support server.
One-Time Setup Steps
Follow these steps to create and connect your custom bot. You only need to do this once!
1. Access the Discord Developer Portal
Go to the Discord Developer Portal. This is where you'll create and manage your bot.
2. Create a New Application
Click the "New Application" button.

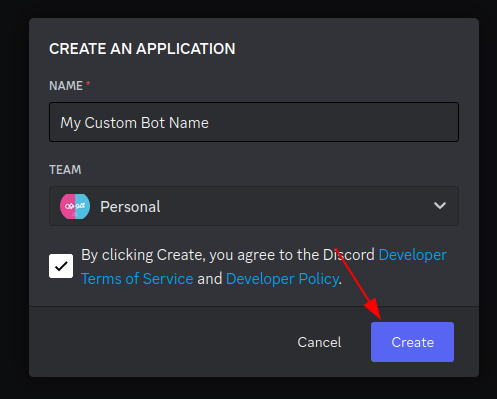
3. Name Your Application
Enter a name for your bot application and click the "Create" button. This name is what your bot will be called on Discord.
4. Navigate to the Bot Section
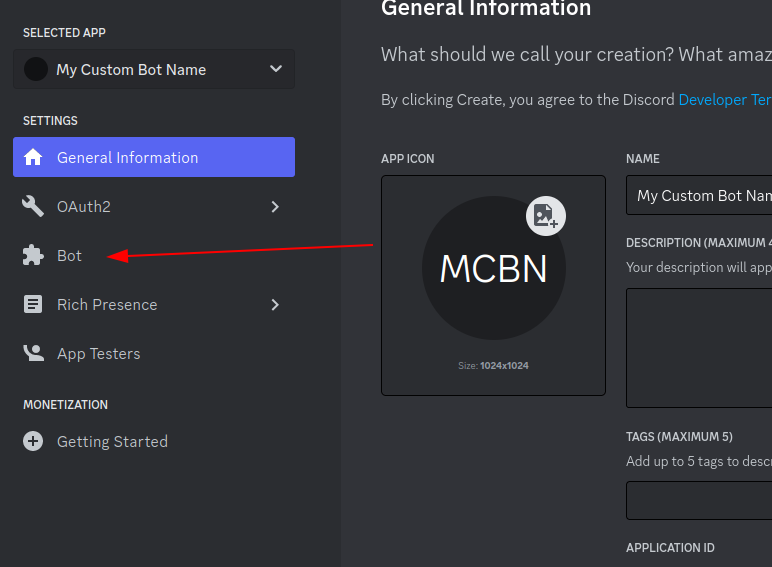
In the left-hand menu, click on the "Bot" section.
5. Generate a Bot Token
Click the "Reset Token" button. This will generate a new, valid token for your bot. Keep this token secure! Do not share it with anyone!

6. Copy the Token
Click the "Copy" button next to the token to copy it to your clipboard.

7. Access the CCommandBot Dashboard
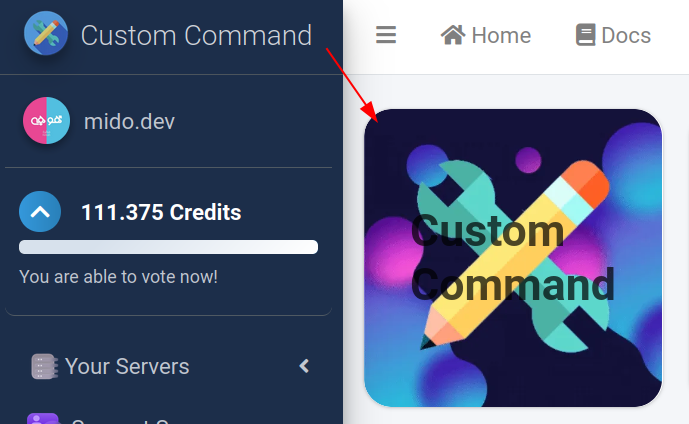
Go to the Dashboard and select the server where you want to use your premium features.
8. Paste the Token and Save
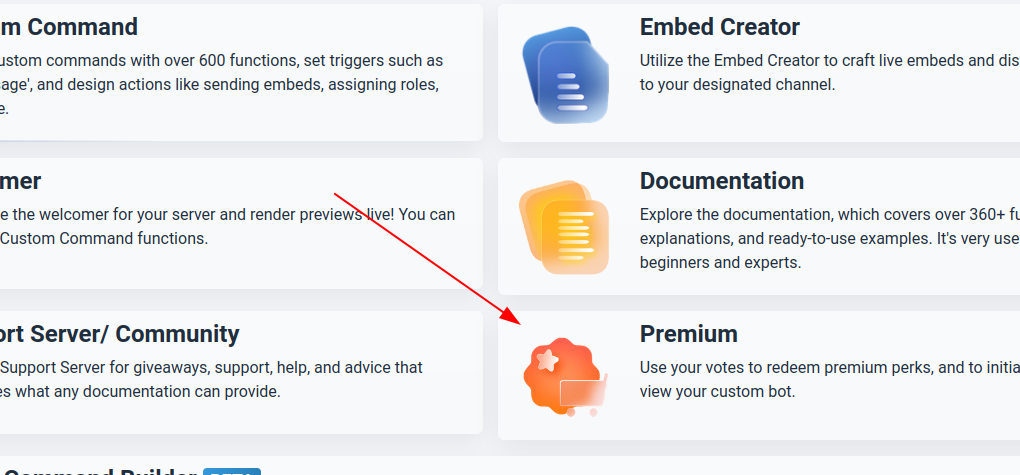
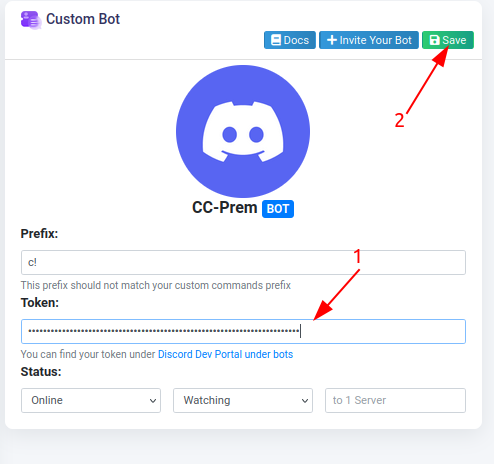
Paste the copied token into the "Token" input field and click the "Save" button.
9. Invite Your Bot to Your Server
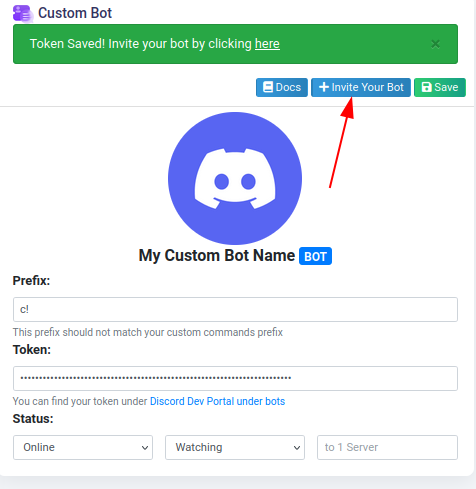
Click on the "Invite your bot" button. This will take you to a Discord authorization page where you can select the server you want to add your bot to. Make sure you have the "Manage Server" permission in the server you're inviting the bot to.
10. All Done!
You're finished! Wait a few minutes for your bot to come online. 🎉
Important: Make sure the main CCommandBot remains in your server. Removing the main bot will prevent you from accessing the dashboard and managing your custom bot.