Slash Command
Introduction
triggers when a user uses a slash command. This needs to be a slash command from the bot.
Creating a slash command
In this example we will create an /avatar command, that shows the user's avatar 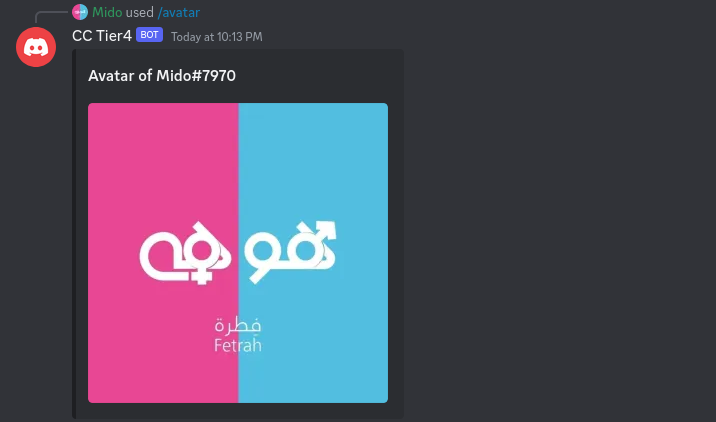
Steps
Go to dashboard, your server page, click on Slash Command Builder
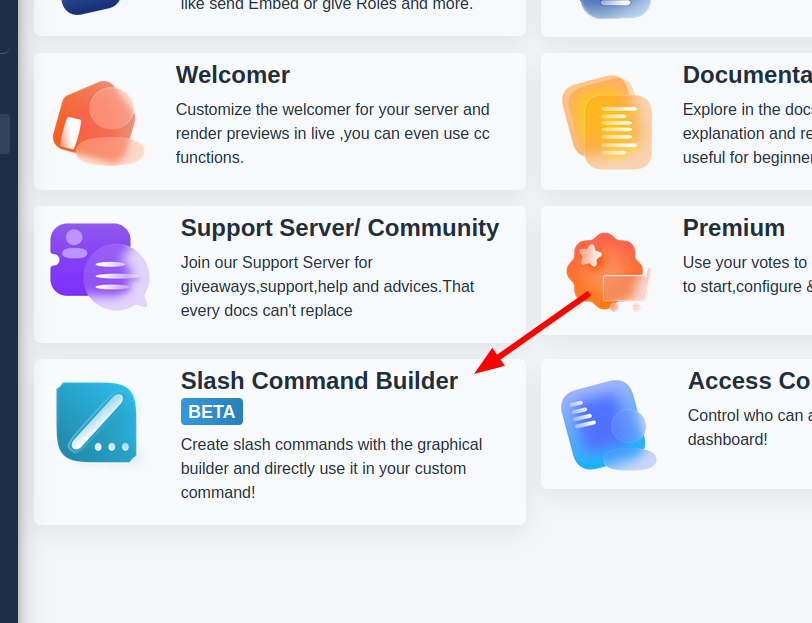
Click
Create
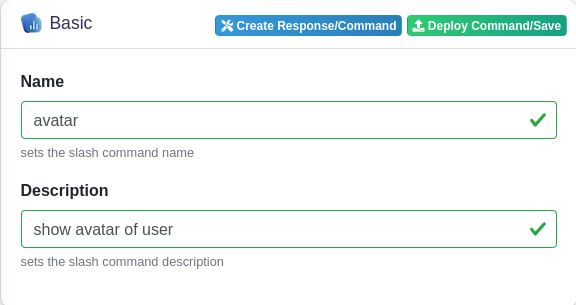
Fill the slash name and description
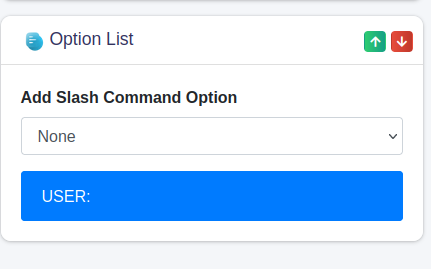
To add user option, to the slash, select from the option menu
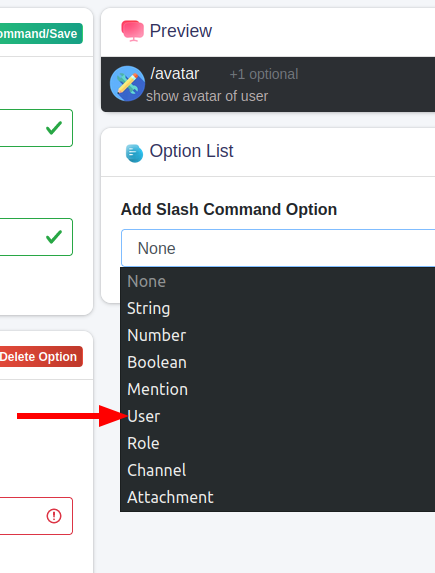
Select the User option (make sure background is blue)
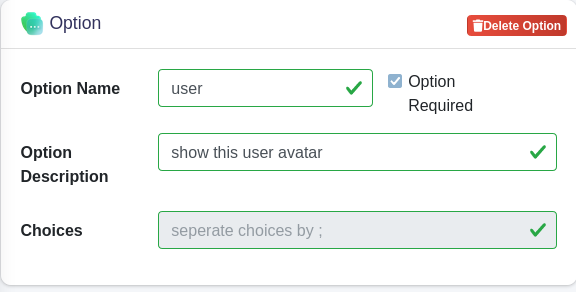
Fill the option name, description, remember this name, we will use it later
Click
Deploy Command/Save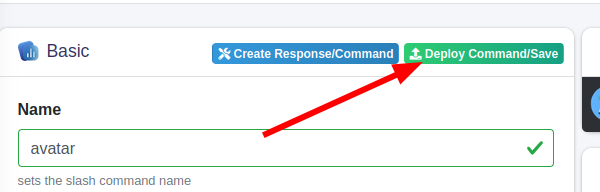
Create a new custom command, select type to be
Slash Commandand select your slash command from the dropdown inTrigger
Set the code to be executed when the slash command is used
Code
    $let[user_id;$getOption[user]]
    $interactionReply[
        {title:Avatar of $usertag[$user_id]}
        {image:$userAvatar[$user_id]}
    ]
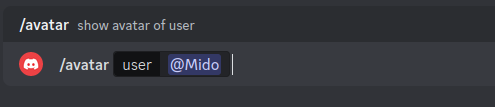
- go to your server and use the command as follows:
Output
Code Explanation
Retrieving the option from user
When a user uses the command like in Step 10, we can retrieve the option through the $getOption function:
$getOption[option name]
In our example option name is user from step 6
then the user id will be stored in a temporary variable nameduser_id using $let, this way we can recall it later in the code through $user_id:
$let[user_id;$getOption[user]]
Sending Message
Next, to send a message with $interactionReply[message]
Here we will send an embed with a title and image using {title} and {image} Curl Message Format:
$interactionReply[
    {title:Embed Title}
    {image:Embed Image}
]
- In title we want to set it to: Avatar of Mido#1234
To get the usernameMido#1234we will use $userTag[user id], to specifiy the user we will use$user_id:
Avatar of $userTag[$user_id]
- In Image to retrieve the user avatar, we will use $userAvatar[user id]:
$userAvatar[$user_id]
Whole code:
    $let[user_id;$getOption[user]]
    $interactionReply[
        {title:Avatar of $usertag[$user_id]}
        {image:$userAvatar[$user_id]}
    ]
Example 2: Sending Private Message
Let's modify the previous code, to make him reply in private to user instead like this: 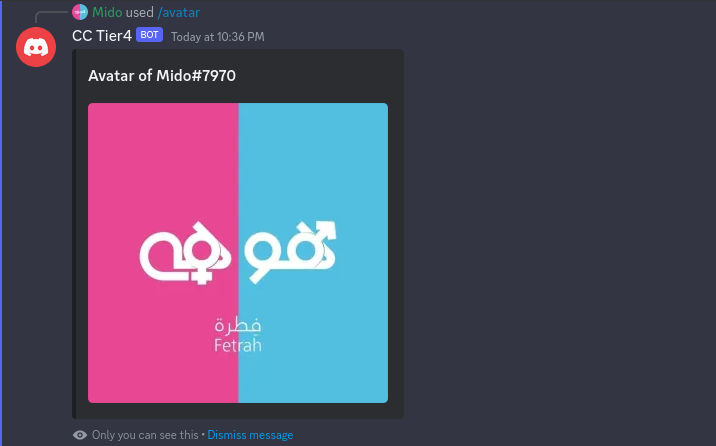
$interactionReply accept 2 inputs by default: message, ephemeral
in the previous example we only used the first message, and 2nd input was by default no
To send the message in private we have to set the 2nd input ephemeral to yes
That's it, Save and test it out
Output