Creating a Custom Command
Starting with our Bot could be a nightmare without any guidelines.
But not with this guide! We will show, you what each setting does, and how to use it!
Create a new command
Before we start working on our command, we have to create one.
Lets go where all commands are born, the dashboard!
Select the desired server to work in
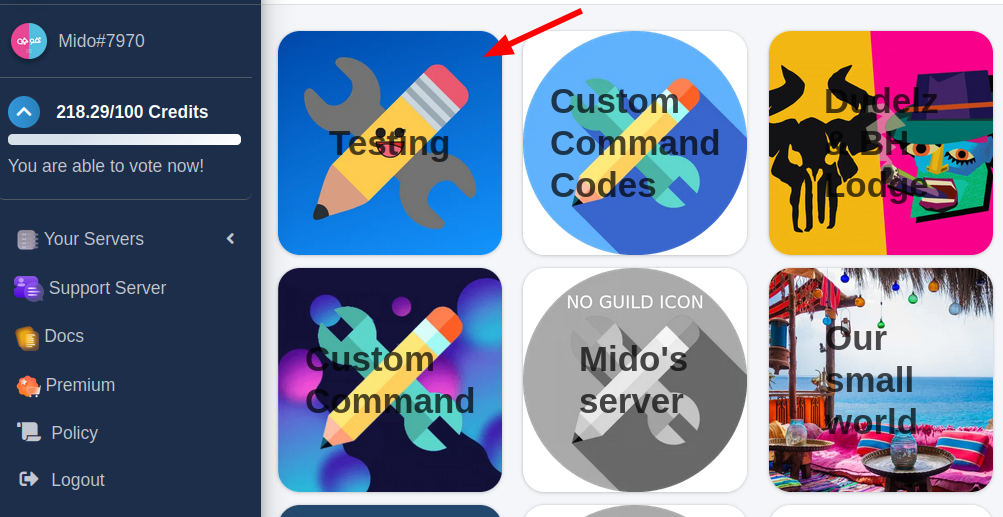
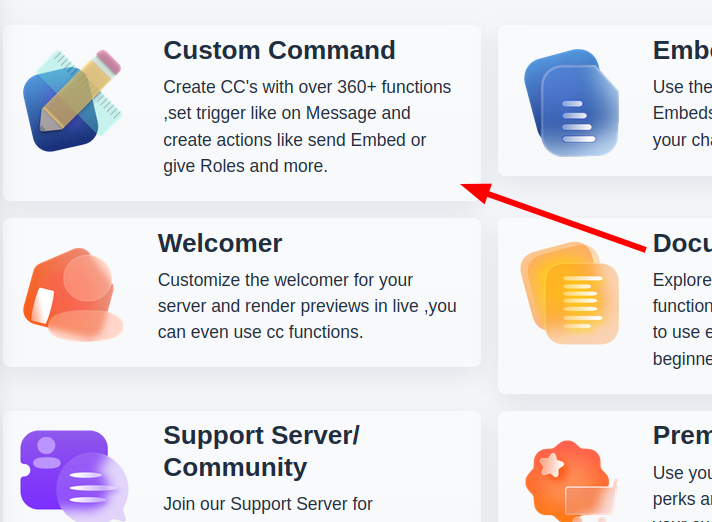
- Choose the Custom Command Section
- Press the Create Button

Tour
On your first visit you will be greeted with a dashboard tour! We highly suggest NOT skipping through it. It will save you a lot of trouble in the future!
Type
The very first part of every command is it's type, an action which will activate your command. It can be selected using this dropdown menu:

| Trigger Type | Triggers when |
|---|---|
| Word | Someone sends a message |
| Slash Commands | Someone uses bot's slash command |
| On Reaction | A message receives a reaction |
| On Join/Leave | Someone joins or leaves the server |
| Role add/remove | Someone recieves or Loses a role |
| Button | Clicks a bot's button |
| Select Menu | Submits their choice in a menu |
| Modal | Submits a modal (form) |
| Timed or Interval | Repeated or Scheduled Execution |
| Voice | Connects to or Disconnects from a VC |
| Channel Create/Delete | A channel is created/deleted |
| Library | Create A library |
As shown above, our bot supports a lot of events! And we're constantly adding more!
Hint
You can proceed to a guide on specific trigger by clicking the green name of it.
Trigger
Command type is sometimes not enough to make your command work perfectly. Sometimes you need the action to meet some conditions, for example: a message should start with !ping to activate your ping command. This field can be specified using this input field:

TIP
The value expected greatly depends on the type of your command. We recommend checking documentation of your desired type to know what you can put in this field.
Shh... the green book icon will lead you there
Code
Now as you know how to make a trigger, we can move on to the real meat of a custom command, the code. Code is simply what the bot will do upon triggering. It can be set using this field:
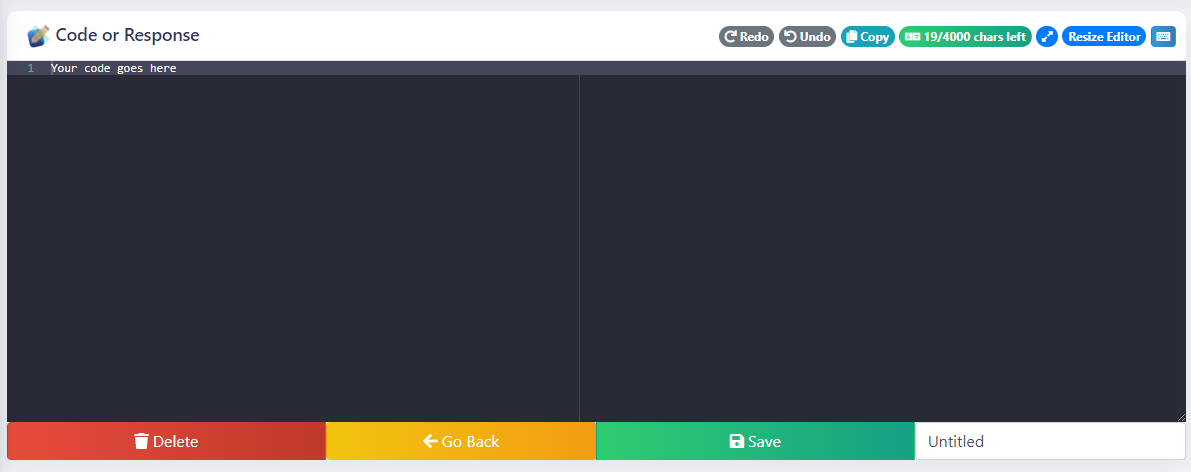
What should I put there?
The simplest code is just a text which gets sent after triggering. But typing in a plain text is of course not all you can do with CC. Inside the code field you can use various functions, which you can find under the Functions tab in this documentation, or in docs built into the dashboard.
Examples
You can find some examples of CC in action in the Tutorials & Examples tab.
Save
Remember to always click the save button after making changes to your command!
Other
Custom Commands allows you to edit a bunch of options, which affect the way your command works. Here's a short explanation of all of them:
| Setting | Description | Appearance in dashboard |
|---|---|---|
| Minimum permissions | Permissions user needs to execute the command |  |
| Ignored roles | Roles which are prohibitted from accessing this command | 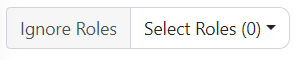 |
| Run only in | Channels where using this command is possible |  |
| Channel Used | Channel where the output will appear |  |
| Cloneable code | If checked, the command is accessible to anyone by the token |  |
| Name field | Name of your command, used for dashboard organization |  |
Templates
You do not always have to code every single command by yourself. From the dashboard you get access to a great deal of templates, that can be effortlessly imported and setup easily.
Want to learn more?
If you want to learn more about what templates are, and how to get them, please check the template section.